
Last updated August 27, 2026
Free visual inspection and a written scope of work before any mitigation begins - photos, moisture readings, and drying logs go in your claim file
The scope we write is the scope we bill. Anything new gets shown to you, in writing, before we touch it.
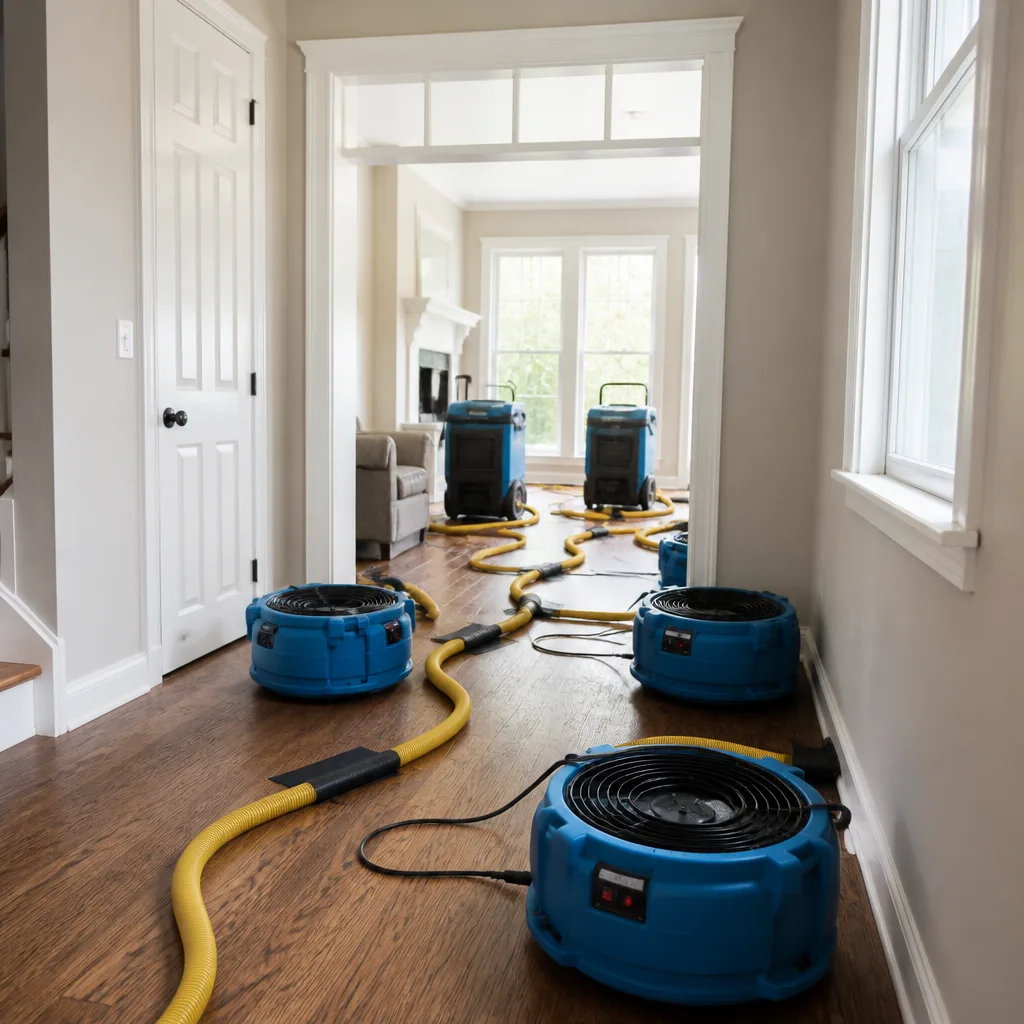





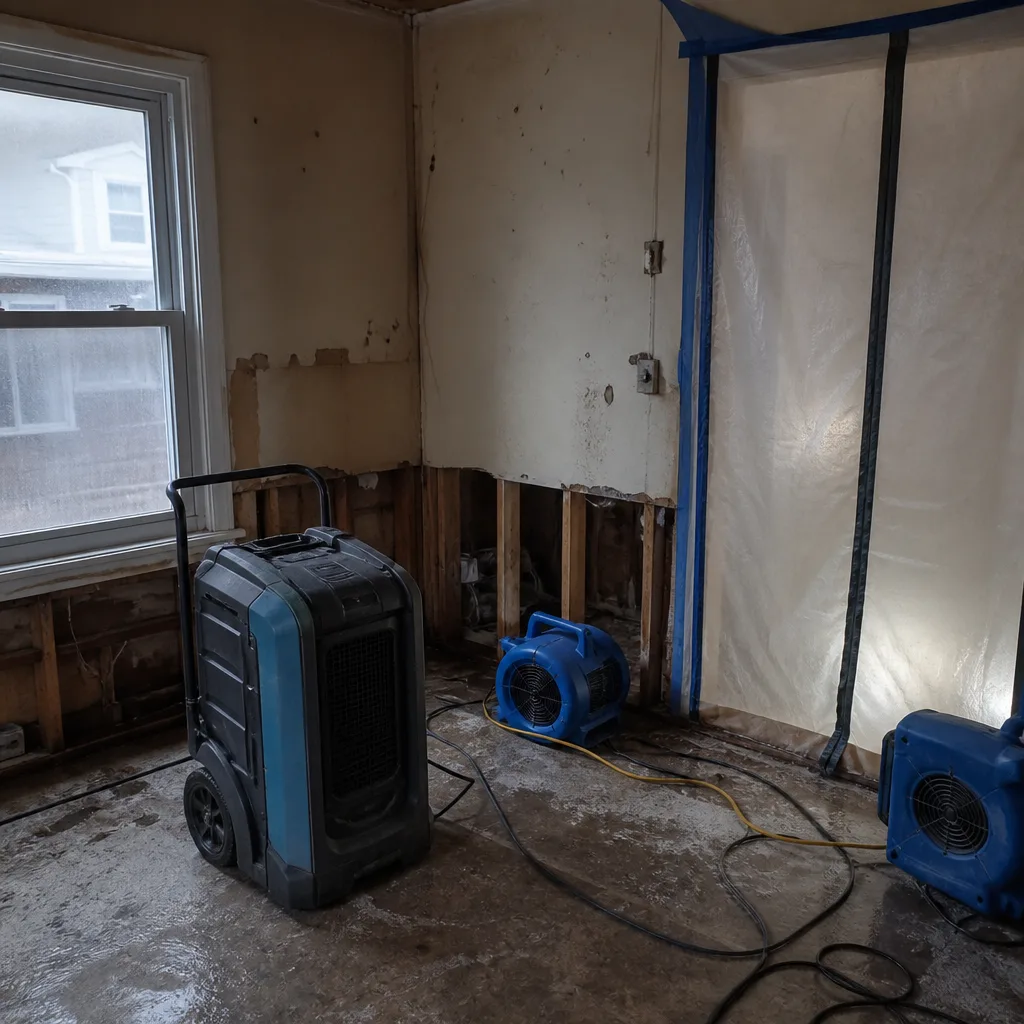 Before
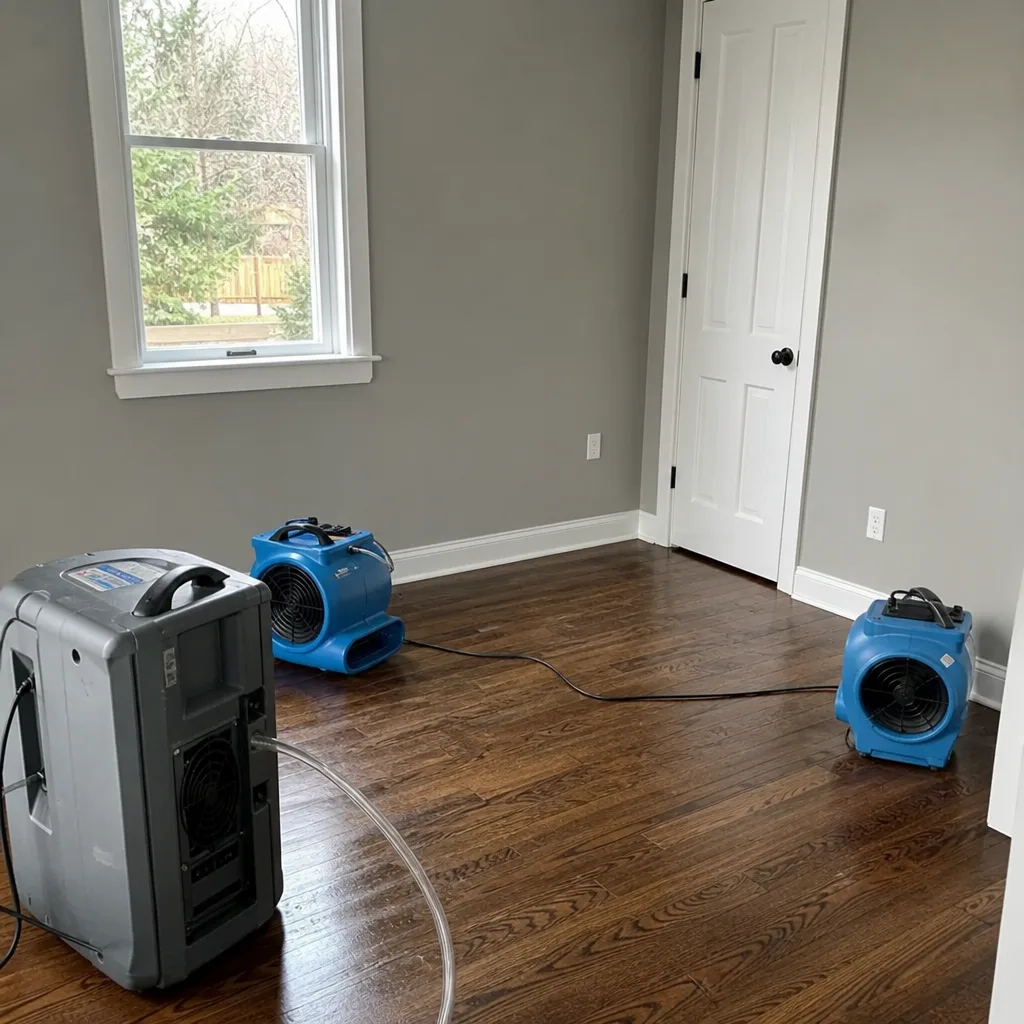 After
After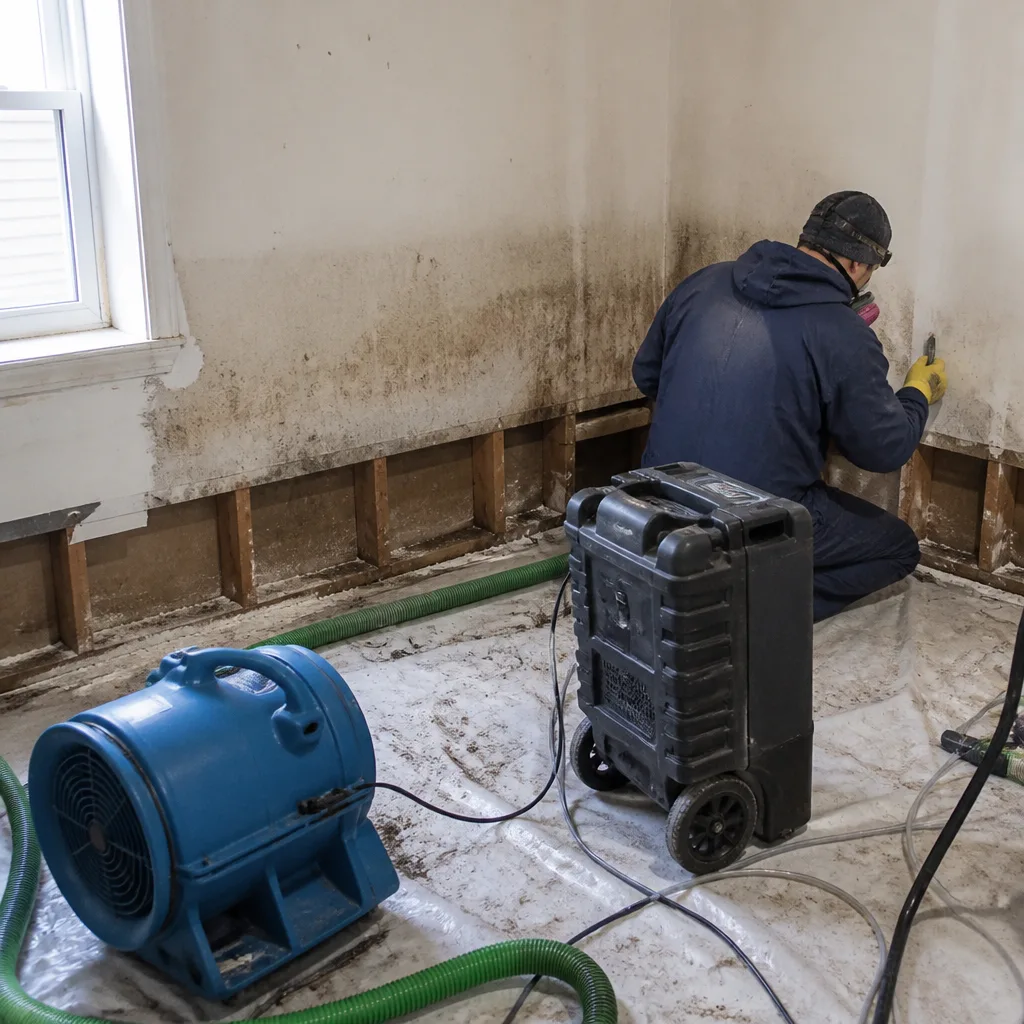 Before
 After
After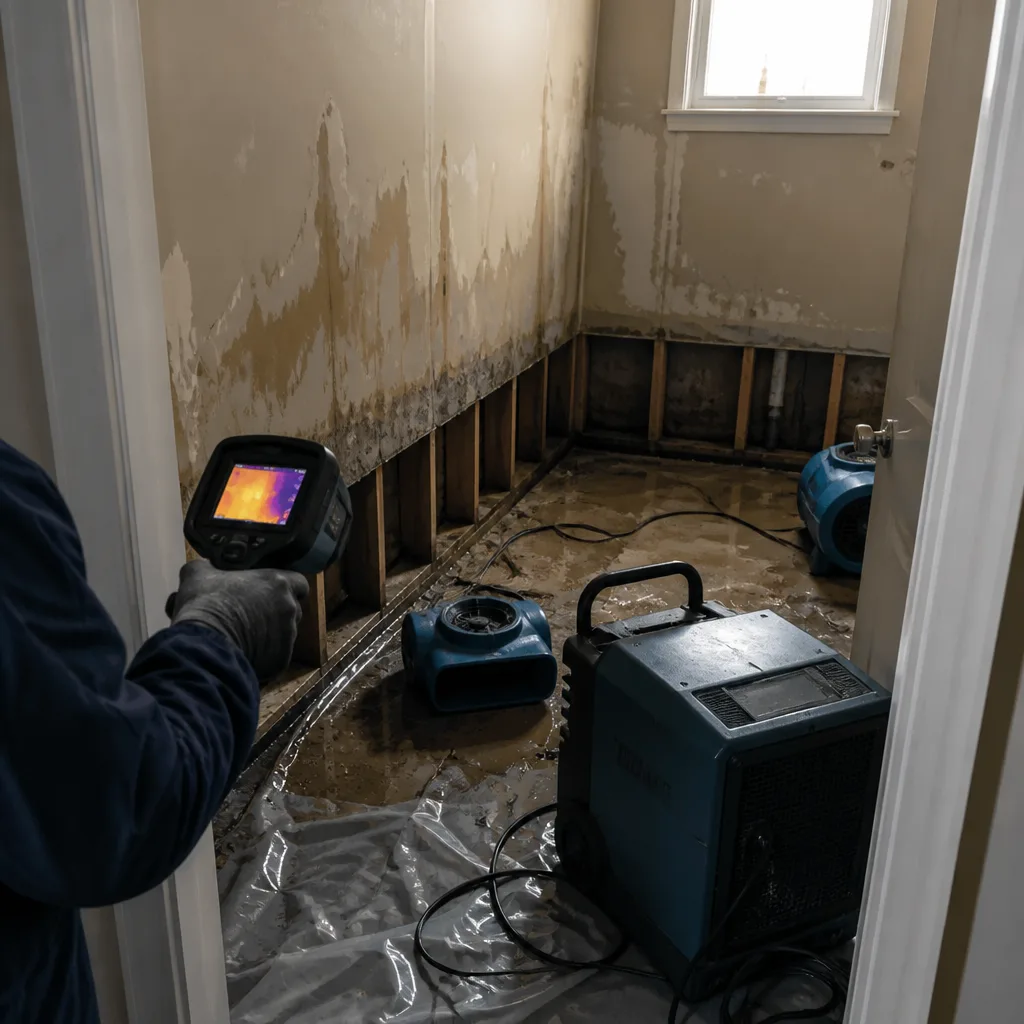 Before
 After
AfterWater Damage Restoration Maintenance Checklist for Harrison Homeowners
Here’s something that still surprises people: the sump pump that failed during the last heavy rain in Harrison wasn’t old. It was three years old. The homeowner had never tested it under load, so it sat there looking fine right up until the moment it couldn’t move water. In 18 years of pulling flooded basements apart in this town, Wade’s Restoration has learned that most water damage isn’t caused by dramatic storms or burst pipes-it’s why we built our Water Damage Restoration services around prevention first. It’s caused by small, predictable failures that homeowners don’t know to look for. This guide gives you the checklist we wish every Harrison homeowner had before we ever have to meet them.
Quick Answer
A water damage prevention checklist for Harrison homeowners should focus on six failure points we see repeatedly in restoration calls: sump pumps, flex connectors behind appliances, window well drains, clay tile sewer laterals, roof-to-wall junctions on row homes, and HVAC condensate lines. Monthly tasks take about 20 minutes. Seasonal tasks take an afternoon twice a year. A $30 moisture meter and a phone camera are the two best insurance tools you already don’t own.
Table of Contents
- Why This Checklist Is Built Backwards
- The 20-Minute Monthly Walkthrough
- How to Actually Test a Sump Pump
- Flex Connectors: The $8 Part That Floods Kitchens
- Window Wells and the Rain That Finds a Way In
- Clay Tile Sewer Laterals: The Harrison Underground Problem
- Roof-to-Wall Junctions on Row Homes
- HVAC Condensate Lines in Summer
- The $30 Tool That Tells You Before Mold Does
- What to Photograph Each Season for Insurance Claims
- Common Mistakes to Avoid
- When to Call a Professional
- Frequently Asked Questions
- The Bottom Line
Why This Checklist Is Built Backwards
Most maintenance checklists you find online were written by someone who never pulled a wet carpet pad out of a Harrison basement at 3 a.m. For more guides & resources rooted in actual fieldwork, keep reading. Ours starts from the other end. Since 2007, Wade Ferris and his crew have responded to thousands of water damage calls across Harrison, and the same six failures show up over and over. Not exotic ones. Not rare plumbing catastrophes. Six ordinary, predictable points of failure that any homeowner can inspect in under half an hour a month.
Harrison has specific conditions that make water damage more likely than in towns a few miles away. Parts of town sit low and flat, so groundwater pressure is constant. The housing stock is older, with a lot of row homes and semi-attached construction. And the sewer laterals that connect these homes to the main line are, in many cases, still the original clay tile pipe installed decades ago. That means roots, cracks, and bellies. We’ll get to all of it.
The point of this guide isn’t to turn you into a facilities manager. It’s to give you a realistic, doable routine that catches the things that actually flood Harrison homes. If you do the monthly walkthrough and the seasonal checks, your odds of ever needing water damage restoration in Harrison drop dramatically.
The 20-Minute Monthly Walkthrough
This is the core routine. Set a recurring phone reminder for the first Saturday of each month. It takes 20 minutes. You’re not fixing anything during this walkthrough. You’re looking for changes. Water damage almost never starts the day you notice it. It starts weeks earlier, as a damp smell, a slightly loose connector, a stain that wasn’t there last month. Here’s the list, in order of importance:
- Test the sump pump under load. Not the bucket trick. We cover the full method below. This is the single most important monthly task in Harrison.
- Check flex connectors under every sink and behind the washing machine. Look for bulges, cracks, or that chalky white residue that signals a slow leak.
- Inspect window well drains. Clear leaves, dirt, and any debris that’s blocking the drain at the bottom of the well.
- Walk the basement perimeter with a flashlight. Look for fresh water stains on walls, especially in corners and along the floor line.
- Check the HVAC condensate line. Make sure the drip pan under the air handler is dry and the drain line isn’t clogged.
- Smell for mustiness. Your nose is the first moisture detector. If a room smells different, find out why.
That’s the whole monthly routine. Twenty minutes. The trick is doing it every month, not just when you remember. The homeowners who call us after a flood are almost always the ones who meant to check things but never put it on a calendar.
How to Actually Test a Sump Pump
The conventional advice is to pour a five-gallon bucket of water into the sump pit and watch the pump kick on. That test tells you the pump can move water. It doesn’t tell you whether the pump will work when it has to. In Harrison, where flat terrain and high groundwater mean sump pumps run hard during storms, a pump can pass the bucket test every month and still fail when it matters. We’ve seen it. Here’s what’s actually going on.
A sump pump has three components that fail independently: the motor, the float switch, and the check valve. The bucket test exercises the motor and the float switch together, but it doesn’t load the system the way a real storm does. A real storm puts the pump through repeated on-off cycles for hours. Each cycle heats the motor. Each cycle stresses the float switch. A float switch that sticks intermittently will pass the bucket test nine times out of ten, then fail at hour two of a heavy rain because it’s been cycling dozens of times and finally hangs in the off position.
Here’s the method Wade’s crew uses, and it’s the one we teach homeowners:
- Lift the float switch manually. Reach into the pit and lift the float arm until the pump activates. Let it run for 10-15 seconds, then release. Listen for any grinding, rattling, or hesitation. A healthy pump starts immediately and runs smooth.
- Test the check valve. The check valve is the fitting on the discharge pipe that prevents water from flowing back into the pit after the pump shuts off. After the pump runs, listen for a solid thunk when it stops. If you hear water sloshing back into the pit, the check valve is failing and the pump is re-pumping the same water, which shortens its life.
- Fill the pit enough to trigger a full cycle. Use a hose, not a bucket. Run water into the pit until the pump activates on its own. Watch it run through a complete cycle and shut off. Repeat this three times. Three consecutive clean cycles tells you the float switch and motor are functioning under real load.
- Check the discharge line outside. Go outside and make sure water is actually flowing out of the pipe, not pooling around the foundation. A frozen or clogged discharge line is a common winter failure in Harrison.
If the pump struggles to start, runs longer than 15-20 seconds to clear the pit, or makes any sound other than a clean hum, replace it before the next storm. A new sump pump costs $150 to $300. The average basement flood in Harrison costs several thousand dollars by the time sheetrock, flooring, and contents are dealt with, as detailed in our Damage Restoration Cost Breakdown: The Harrison Homeowner’s Reference for 2026. That math is easy.
Flex Connectors: The $8 Part That Floods Kitchens
The braided stainless steel flex connectors that connect your sinks, toilets, and washing machine to the water supply are one of the most common failure points we respond to in Harrison. The rubber gasket inside the connector degrades over time, and the braided jacket can rust and split. When it fails, it fails under full house water pressure. A connector that gives way while you’re at work can dump hundreds of gallons before anyone notices.
The dangerous thing about flex connectors is that they look fine right up until they don’t. The rubber degrades from the inside out. The stainless braid hides the damage. By the time you see water staining or a bulge in the braid, you’re already close to failure. Here’s what to look for:
- Any bulge or irregularity in the braid. A healthy flex connector is perfectly cylindrical. If it looks swollen anywhere, it’s failing internally.
- Rust or corrosion on the braid or the end fittings. This is especially common in homes with older galvanized supply lines, which are everywhere in Harrison.
- A connector that’s older than five years. These connectors aren’t meant to last forever. If you can’t remember when they were installed, that’s a sign.
- Tight bends or kinks. Every hard bend stresses the gasket and shortens the connector’s life.
Replacing a flex connector is a $10 job that takes ten minutes per fixture. Wade recommends doing them all at once, every five to seven years, and writing the date on the braid with a permanent marker. That way you always know how old they are. It’s one of the cheapest insurance policies a Harrison homeowner can buy.
Window Wells and the Rain That Finds a Way In
Window wells are a regular culprit in Harrison basement flooding, especially in the older homes that make up much of town. A window well is supposed to do two things: keep soil away from the basement window and drain water before it accumulates. The second job depends on a drain at the bottom of the well, and that drain is almost always ignored. Leaves, dirt, mulch, and the occasional plastic bag fill it up, and suddenly a window well that handled every rain for 40 years becomes a funnel that pours water directly against the window frame.
The window itself is often not watertight against that much pressure. Basement windows in older Harrison homes have metal frames with single panes and deteriorated glazing. They’re not designed to hold back standing water. When water collects in the well, it seeps through the frame, runs down the wall, and finds its way into the basement. We’ve extracted thousands of gallons from basements where the total source of water was one clogged window well drain.
The fix is simple. Monthly, clear the drain at the bottom of every window well. Twice a year, in spring and fall, pull off the grate and clear the pipe itself with a hose or a shop vac. Check the window frame caulking and glazing while you’re there. If the well fills with water during a rain, fix the drain that day, not next week. A window well that’s filling with water is a basement flood waiting for the next heavy storm.
Clay Tile Sewer Laterals: The Harrison Underground Problem
A lot of Harrison homes are still connected to the sewer main with the original clay tile lateral. Clay tile was the standard material for sewer pipe for decades, and it has a specific weakness: the joints between tiles. Those joints were sealed with mortar or left open, and over time they crack, shift, and allow root intrusion. Tree roots, especially from the mature oaks and maples that line Harrison streets, grow into the joints seeking water and nutrients. Once inside, the roots expand and block the pipe.
The result is a sewer line that backs up slowly, then suddenly. You’ll often get warning signs first: drains that gurgle after flushing, a toilet that bubbles when the sink runs, a smell of sewage in the basement after heavy rain. Those signs mean the lateral is partially blocked and water is backing up under the house. Ignore them long enough, and you’ll get a full backup through the floor drain, which means sewage in the basement. Sewage cleanup is a different category of problem entirely, one that requires mold remediation in Harrison on top of the initial extraction, because sewage introduces pathogens that water alone doesn’t.
Here’s the reality: if your home was built before roughly 1980 and still has the original sewer lateral, you should assume it’s in some stage of deterioration. The proactive move is a camera inspection, which costs a few hundred dollars and tells you exactly what’s going on underground. The reactive move is a flooded basement with sewage in it. We’ve never met a homeowner who regretted the camera inspection.
Roof-to-Wall Junctions on Row Homes
Harrison’s row homes have a specific water intrusion point that standalone houses don’t share as acutely: the junction where the roof meets the shared wall between units. That junction is covered by flashing, and the flashing is the weak point. Flashing is thin metal, usually aluminum or galvanized steel, and it degrades. It rusts, it pulls away from the wall, it gets punctured by roofers who don’t know what they’re doing, and it lets water into the wall cavity.
Unlike a roof leak that shows up as a ceiling stain, a roof-to-wall junction leak often goes unnoticed for a long time. The water travels down inside the wall cavity, so you don’t see it on the ceiling. You might see discoloration on an interior wall, or paint that bubbles near the top of the wall, or a musty smell in an upstairs bedroom. By the time it’s visible, the wall cavity has been wet for months and you’re looking at more than just a flashing repair.
Twice a year, have a look at the roofline where your home meets the neighboring unit. If you can see exposed flashing, gaps, rust, or areas where the flashing has pulled away from the wall, call a roofer. If you don’t have access to the roofline, have someone inspect it. In Harrison, where row homes predominate, this is one of the most common water intrusion points we respond to after the damage is already done.
HVAC Condensate Lines in Summer
Your air conditioner removes moisture from the air as it cools, and that moisture has to go somewhere. In most Harrison homes, the condensate drains through a thin plastic line to a floor drain or the outside. When that line clogs, the water backs up into the drip pan under the air handler. The drip pan has its own drain line, and when that clogs too, the pan overflows and you’ve got water running across the floor. It happens in the summer, when the AC is running hard for days at a time, and it can dump a surprising amount of water before anyone notices.
The condensate line clogs because it’s a dark, damp channel, which is exactly where algae and mold like to grow. The growth slimes the inside of the pipe and gradually closes it off. The drip pan line clogs the same way. A pan that’s full of water is a sign that the primary line is blocked. A pan that’s overflowing means both are blocked.
Monthly during the cooling season, check the pan under your air handler. It should be dry or nearly dry. If it’s got standing water, the primary drain is clogged. You can clear it with a shop vac on the outside line or by flushing the line, but if you’re not comfortable doing that, any HVAC tech can do it in one visit. This is also the season when a fire & smoke damage restoration in Harrison call sometimes starts with water damage from an AC and an electrical short, so don’t put off the check.
The $30 Tool That Tells You Before Mold Does
Mold needs two things to grow: a food source and moisture. The food source is already in your home. It’s the paper on drywall, the wood in studs, the dust on surfaces. The only variable you control is moisture. Here’s the number that matters: mold can begin growing on susceptible surfaces when relative humidity stays above 60% for 72 hours. In a Harrison basement that already runs damp, it doesn’t take visible water to hit that threshold. It takes a few days of summer humidity and a foundation wall that’s wicking groundwater.
The tool that tells you where you are is a pinless moisture meter. You can buy a decent one for $30. It works by pressing the sensor against a surface and reading the moisture content as a percentage. Here’s how to use it as an early warning system:
- Establish a baseline. On a dry day, take readings at several points on your basement walls, floor, and any exposed wood. Write them down. Healthy drywall usually reads under 10% moisture content. Healthy wood under 15%.
- Check monthly in summer. Take the same readings at the same points each month. You’re looking for changes, not absolute numbers.
- Pay attention to trends. A wall that reads 8% in April and 14% in August is telling you that groundwater is moving through it. That’s the wall that will grow mold first.
- Take action at 15-17% on drywall. That range means the material is absorbing water. It doesn’t mean you have mold yet, but you’re trending toward the conditions where it will start. Fix the moisture source now.
This one tool replaces a lot of guesswork. It tells you whether your basement is stable, whether your dehumidifier is actually doing anything, and whether that damp smell you’ve noticed is getting worse or staying put. In our experience, the homeowners who use a moisture meter monthly are the ones who never need full mold remediation. The ones who don’t are the ones we meet after the wall is already black.
What to Photograph Each Season for Insurance Claims
Water damage claims don’t start when water appears. They start with the documentation you have from before the water ever showed up. Insurance adjusters need to establish two things: that the damage happened, and that it wasn’t pre-existing. The second part is where homeowners lose money. If you can’t prove your basement wall was clean and dry in March, the adjuster has every reason to argue that the water stain was already there.
Here’s the documentation routine we recommend to every Harrison homeowner. It takes 15 minutes per season and it’s the single best insurance investment you can make that doesn’t cost anything.
- Photograph every room in the basement. Wide shots and corners. Include the walls, floor, and ceiling in each shot. Use the same angles every season so adjusters can compare directly.
- Photograph the sump pump and pit. A clean, dry sump pit photographed in March is evidence that your system was functioning before the April storm.
- Photograph water-using appliances from behind. The washing machine connections, the water heater, the HVAC unit. Flex connectors and supply lines in the frame.
- Photograph the exterior foundation. Walk the perimeter and shoot the foundation walls, window wells, and any cracks you can see.
- Keep a one-page log. Date, any maintenance done, any issues found, any moisture meter readings. Handwritten is fine. A notebook beats a fading memory in a claim conversation.
If damage does occur, photograph everything before anything is moved or cleaned. Then photograph it again after the area is opened up. Then call yourself lucky that you have a seasonal record. In 18 years of dealing with insurance adjusters on behalf of Harrison homeowners, Wade has never once heard an adjuster complain that the homeowner provided too much documentation.
Common Mistakes to Avoid
- Testing the sump pump only with a bucket. The bucket test passes pumps that will fail under repeated cycling. Do the three-cycle load test we described above.
- Ignoring a damp basement smell. That smell is either mold already growing or conditions that will grow mold soon. It doesn’t go away on its own in Harrison’s climate.
- Forgetting the window well drains. The single most common overlooked maintenance point in Harrison basements. Clear them monthly.
- Waiting to replace flex connectors. They’re cheap, they’re easy, and they fail at full pressure. Replace them every five to seven years and date them.
- Not knowing where your main water shutoff is. In a burst pipe situation, the difference between a $2,000 repair and a $20,000 repair is often whether someone knew how to stop the water in the first five minutes. Find yours, label it, and make sure everyone in the house knows it.
- Assuming old sewer laterals are fine because they haven’t backed up yet. Clay tile laterals in Harrison fail slowly, then suddenly. A camera inspection costs far less than a sewage backup.
- Not documenting the “before” state. Insurance claims are won with documentation. A seasonal photo log costs nothing and can save you thousands.
When to Call a Professional
Some things are worth doing yourself, and some things are worth calling a pro for the first time water is involved. Call a professional if you see water coming through walls or floors during or after rain, if water is rising in the sump pit faster than the pump can move it, if you have sewage backing up through floor drains, or if you smell gas or see electrical sparking near water. If a space has been wet for more than 48 hours, mold is already in play and needs professional attention. Wade’s Restoration offers free estimates in Harrison. Call (856) 501-6142 any time, day or night, and Wade will tell you what you’re dealing with and what it will take to fix it. No charge for the visit inside Harrison county.
Frequently Asked Questions
Test it under load monthly, and do a full three-cycle test before every heavy rain in the forecast. Harrison’s flat terrain and high groundwater mean sump pumps work hard during storms, and a pump that’s been idling for weeks can stick on its first real cycle. Monthly testing catches float switch failures before the storm does.
Drywall that reads above 15% on a pinless moisture meter is absorbing water and trending toward mold conditions. Wood above 17% is in the same zone. Relative humidity that stays above 60% for three consecutive days creates mold-suitable conditions on many surfaces. If you’re seeing those numbers, find the moisture source now, because mold doesn’t wait for you to get around to it.
Standard homeowners insurance covers water damage from a failed sump pump only if you have a separate sump pump endorsement or water backup rider. Without it, the flood water that comes in through the sump pit is generally excluded. Check your policy language, and if you live in a low-lying part of Harrison, seriously consider the endorsement. Wade deals with adjusters directly on every job, so he can help you understand what your policy actually covers before work starts.
Warning signs include gurgling drains after flushing, toilets that bubble when the sink runs, sewage smells in the basement after rain, and slow drains throughout the house. Any of those means the lateral is partially blocked. A camera inspection confirms the condition. Better to inspect on your schedule than to find out through a basement full of sewage.
By call volume, it’s sump pump failures, followed closely by flex connector bursts and window well drain overflows. Those three account for the substantial majority of the water damage calls Wade’s Restoration has responded to in Harrison since 2007. The good news is that all three are checkable in a monthly routine.
The monthly and seasonal checks in this guide are all doable by a homeowner and will catch most issues before they become floods. If you want a professional once-over, Wade’s Restoration will walk your home with you and point out what he sees. There’s no charge for that visit inside Harrison county, and no obligation. Call (856) 501-6142 to schedule it.
The Bottom Line
Water damage in Harrison is almost never random. It’s the sump pump nobody tested, the flex connector nobody replaced, the window well drain nobody cleared. The six failure points in this guide-and in The Complete Guide to Damage Restoration in Harrison-cover the overwhelming majority of floods we’ve responded to since 2007, and every one of them is addressable by a homeowner with a monthly routine and a seasonal checklist. Twenty minutes a month. An afternoon twice a year. A $30 moisture meter and a camera. That’s the whole prevention strategy. And if water does show up anyway, you know who to call. Wade’s Restoration is Harrison’s own, and Wade will be there himself, day or night.
Call (856) 501-6142 for a free estimate, or just to ask a question about something you noticed in your basement. We’re happy to talk it through. That’s what neighbors do.
Written by Wade Ferris, Owner at Wade’s Restoration, serving Harrison since 2007.